Here are some pictures of the cake I decorated for class:
I filled it with apricot jam and it tasted great! I'm not going to include the recipe because this post is supposed to be about chocolate cupcakes. But where I'm going with all this is that this week we have to bring in 6 cupcakes to decorate so I decided to make chocolate cupcakes.
"Your Basic Chocolate Cupcake" from Vegan Cupcakes Take Over the World
Ingredients:
1 cup soy milk (I used almond, as that's what we had on hand)
1 tsp apple cider vinegar
3/4 cup granulated sugar
1/3 cup canola oil (I used safflower since that's what we had)
1 tsp vanilla extract
1/2 tsp almnod extract, chocolate extract or more vanilla extract
1 cup all-purpose flour
1/3 cup cocoa powder, Dutch-pressed or regular
3/4 tsp baking soda
1/2 tsp baking powder
1/4 tsp salt
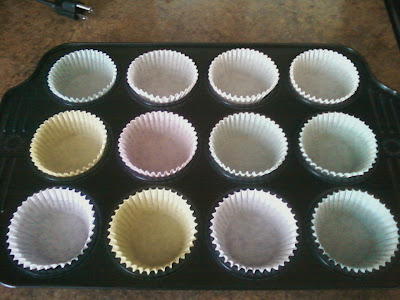
1. Preheat oven to 350ºF and line muffin pan with paper or foil liners.
2. Whisk together the soy milk and vinegar in a large bowl, and set aside for a few minutes to curdle. Add the sugar, oil and vanilla extract, and other extract if using, to the soy milk mixture and beat until foamy.
3. In a separate bowl, sift together the flour, cocoa power, baking soda, baking powder and salt. (I didn't sift but whisked the ingredients together, incorporating air into the mix. I only do this when I'm feeling exceptionally lazy and when my baking and cocoa powders don't appear to be lumpy.)
4. Add in two batches to the wet ingredients and beat till no large lumps remain (a few tiny lumps are okay).
5. Pour into liners, filling three-quarters of the way. Bake 18 to 20 minutes, until a toothpick inserted into the center comes out clean. Transfer to cooling rack and let cool completely.
I'll add some pictures after I decorate these for class on Wednesday- assuming they come out looking nice, of course. I did some quality control and they taste delicious.


No comments:
Post a Comment